If you’re looking to improve your home’s energy efficiency and reduce utility bills, insulating your water heater is a simple, low-cost solution with a big impact. A well-insulated water heater retains heat longer, reduces standby heat loss, and requires less energy to keep your water hot. Here’s a step-by-step guide to help you get started.
Why Insulate Your Water Heater?
Water heaters, especially older models, can lose a significant amount of heat through their tanks and pipes. This phenomenon, known as standby heat loss, forces the heater to work harder and use more energy to maintain the desired water temperature.
What You’ll Need
Before beginning, gather the following materials:
- Water heater insulation blanket (preferably with an R-value of at least R-8)
- Scissors or utility knife
- Tape measure
- Electrical or foil tape (heat-resistant)
- Gloves and safety glasses (for protection)
Step-by-Step Instructions
1. Check Compatibility
Not all water heaters need insulation. If you have a newer model (post-2015), it might already be insulated efficiently. Check the label on your tank for the R-value of factory insulation. If it’s R-24 or higher, additional insulation won’t offer much benefit.
Also, never insulate tankless water heaters; they don’t store hot water and thus don’t benefit from added insulation.
2. Turn Off the Heater
For safety:
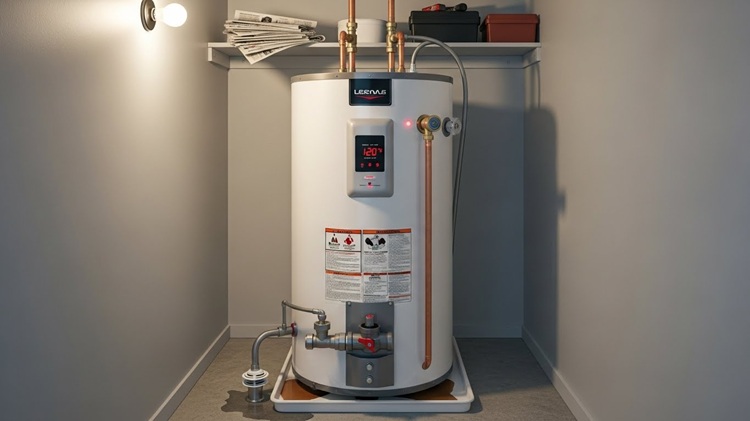
- Electric water heater: Switch off the power at the circuit breaker.
- Gas water heater: Turn the thermostat to the “pilot” setting.
Let the tank cool for at least 30–60 minutes before working on it.
3. Measure and Cut the Blanket
Wrap the insulation blanket around the tank to measure the correct size. Ensure it fits snugly without overlapping or blocking any access panels, valves, or warning labels.
Cut holes for:
- The thermostat
- Pressure relief valve
- Burner area (for gas units)
Use tape to secure any loose edges but avoid taping directly over controls or vents.
4. Wrap and Tape the Blanket
Carefully wrap the blanket around the tank, aligning it with the holes you cut. Tape the seams securely using foil tape. Make sure:
- Vents and controls are unobstructed
- The top of a gas water heater is not covered
- The blanket does not interfere with wiring or piping
For electric heaters, you can insulate the top of the tank as long as it doesn’t cover elements or vents.
5. Insulate the Hot Water Pipes
While you’re at it, consider insulating the first 3 feet of both the hot and cold water pipes connected to the heater. Use foam pipe insulation sleeves to reduce heat loss even further.
6. Restore Power and Check
Turn the heater back on and monitor it for the next 24 hours. Make sure everything is functioning properly and that the insulation isn’t interfering with the heater’s operation.
Conclusion
Insulating your water heater is an easy DIY project that can lead to noticeable energy savings and improved performance. With just a few tools, you’ll be enhancing your home’s energy efficiency and extending the life of your appliance. It’s a small investment that pays off quickly in comfort and cost savings. Geyser insulation works best when your appliance is built for efficiency.